 How-to
7 Steps to Execute Your Event Vision Flawlessly
Last Updated: November 10, 2026
Quick Summary
To execute your event vision, write a one-to-three-sentence vision statement covering mood, style, guest experience, and non-negotiables, then carry it through a mood board, checklist, timeline, and vendor briefs. Give every vendor the same written event vision and visual references so nothing gets lost in translation.
- A strong vision statement covers mood, style, guest experience, and two or three non-negotiables.
- Cut your mood board from 15 to 20 images down to 8 so vendors get clear direction.
- Lock the look before logistics: book the venue and vision statement 8+ months out.
- Print two copies of each vendor handoff packet and keep a digital copy in a shared folder.
- Schedule a 15-minute design check 60 to 90 minutes before doors open.
Table of Contents
- What Event Vision Means and Why Execution Fails
- Write Your Event Vision Statement: Examples That Work
- Build an Event Design Mood Board Before You Commit
- Use an Event Design Planning Checklist to Lock the Details
- Set an Event Planning Timeline That Protects the Vision
- Communicate the Vision to Vendors So Nothing Gets Lost
- Run Event Day: Execution, Contingencies, and Final Checks
- Choose a Design Partner Before You Sign a Contract
- Frequently Asked Questions
What Event Vision Means and Why Execution Fails
Event vision is the clear picture of how an event should look, feel, and flow, written down before any vendor is booked.
Execution fails for one reason: the vision lives in someone's head instead of on paper.
The fix is a written vision that travels with every decision. You can find more party planning guidance on our blog if you want to go deeper before you start.
What separates a smooth event from a chaotic one? The written vision. Here is a seven-step process for carrying one from idea to event day.
Write Your Event Vision Statement: Examples That Work
A vision statement is a short written description of the event's mood, style, and guest experience in plain language. It should be one to three sentences that anyone can read and picture the same thing.
What a Strong Vision Statement Includes
A strong statement covers four things:
- Mood: the feeling guests should have walking in
- Style: colors, textures, and design era
- Guest experience: what people will see, hear, and do
Skip vague words like "elegant" or "memorable." They mean nothing to a vendor. Use concrete language instead.
Three Event Vision Statement Examples
Here are three examples you can adapt:
- "A candlelit garden dinner with long wooden tables, olive branches, and warm amber light. Guests should feel like they wandered into a private backyard supper with 80 close friends."
- "A black-and-gold Art Deco evening with geometric stage steps and pedestal displays. Guests should feel like they stepped into a 1920s club, with a live band and low lounge seating."
- "A bright, playful sweet sixteen in teal and coral, with glowing backlit panels and a photo wall. Guests should feel like they walked into a music video set."
Notice each one names colors, objects, and a feeling. That is the standard to hit.
Build an Event Design Mood Board Before You Commit
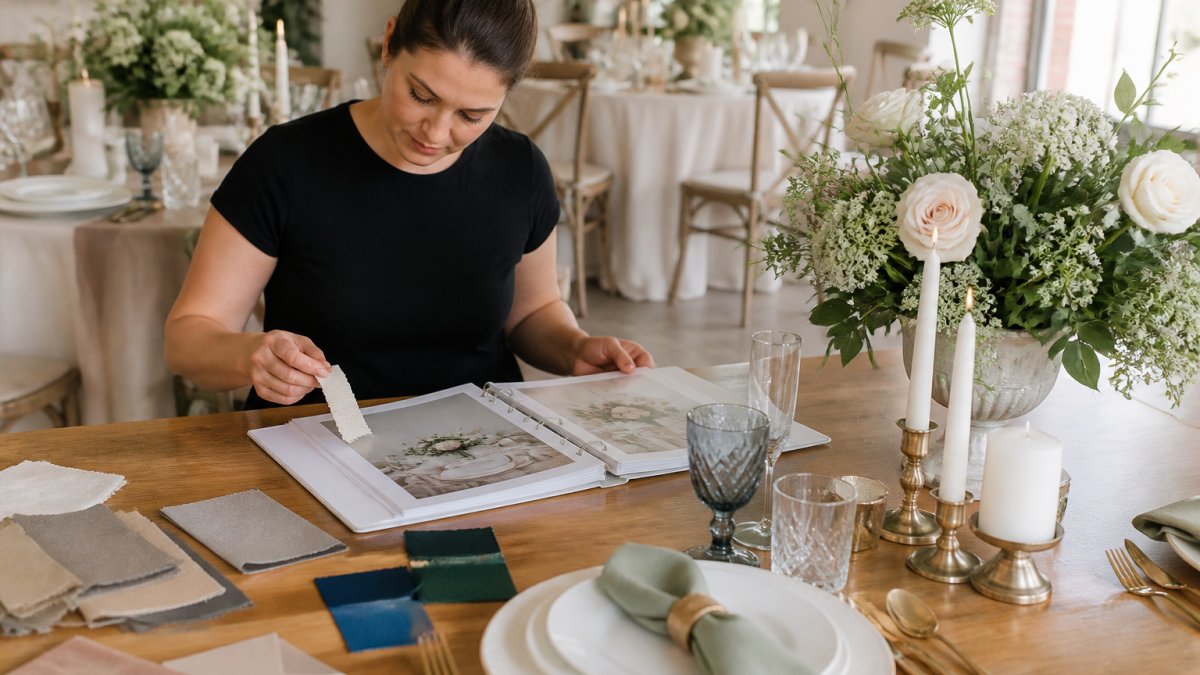
A mood board is a collection of images, fabric swatches, and color samples that shows your vision visually. It settles arguments early because everyone looks at the same reference instead of describing ideas from memory.

How to Assemble a Mood Board in Four Steps
- Collect 15 to 20 images of rooms, tables, and lighting you love.
- Cut it down to 8. Remove anything that clashes with your top three picks.
- Add physical samples. Real fabric, ribbon, and paint chips beat screens every time.
- Label the board with your color names and the two details you refuse to lose.
What most guides miss is the cutting step. A board with 40 images gives vendors no direction. A board with 8 gives them a target.
You can see real event setups that show how these boards translate into finished rooms in our gallery.
Use an Event Design Planning Checklist to Lock the Details
An event design planning checklist is the written list that turns your vision into assigned tasks with owners and dates. It is the tool that stops details from slipping once planning gets busy.
Build your checklist around these categories:
- Venue booked and floor plan approved
- Color palette and materials confirmed
- Centerpieces and tablescape design signed off
Review the checklist weekly. A common mistake is treating it as a one-time document. It should change as decisions get made.
Set an Event Planning Timeline That Protects the Vision
An event planning timeline is a dated schedule that works backward from event day and gives each design decision a deadline. Without one, the biggest design choices get made in the last two weeks, when options are gone.
Key Milestones from Booking to Event Day
| Timeframe | Milestone | Why It Matters |
|---|---|---|
| 8+ months out | Book venue and lock vision statement | Sets the room and the direction |
| 6 months out | Finalize palette, mood board, and rentals | Best selection still available |
| 4 months out | Sign vendor contracts | Locks pricing and dates |
| 2 months out | Confirm centerpieces and lighting plan | Time to fix supply issues |
| 2 weeks out | Final headcount and floor plan | Prevents day-of scrambling |
| 1 week out | Vendor load-in schedule confirmed | Removes event-day confusion |
The timeline protects the vision because it forces decisions in the right order. Lock the look before you lock the logistics.
Communicate the Vision to Vendors So Nothing Gets Lost
Vendors execute what they can see, not what you describe. Give every vendor the same written vision statement, the same mood board, and the same checklist excerpt for their area. The goal is a single source of truth that any vendor can open on their phone at load-in and match against the room.
A short vendor brief works better than a long meeting. Include:
- The vision statement, word for word
- Photos of the exact look, labeled with the vendor's scope
- Their specific responsibilities and load-in time
Then confirm in writing. A quick email recap after each call prevents "that's not what I understood" on event day.
Build a Vendor Handoff Packet
A handoff packet is the physical or digital bundle each vendor receives. A three-part packet is one practical approach: a one-page brief, a visual reference sheet, and a scope checklist.
- One-page brief: vision statement, contact name and number, load-in and load-out windows, and the single non-negotiable detail for that vendor.
- Visual reference sheet: three to five labeled photos showing the exact look, with callouts for color, texture, and placement.
- Scope checklist: the tasks that vendor owns, with a checkbox for each and a signature line at the bottom.
Watch out: a packet that lives only in email gets lost. Print two copies per vendor, one for the vendor, one for your on-site binder, and keep a digital copy in a shared folder.
Run a Pre-Event Vendor Walkthrough
A walkthrough is a 20- to 30-minute on-site meeting, usually two to five days before the event, where each vendor walks their zone with the vision statement in hand. It catches mismatches while there is still time to fix them.
During the walkthrough, ask each vendor to point to where their deliverable will sit and describe what it will look like.
Set Communication Rules and Escalation Paths
Give every vendor the same communication rules so questions do not route to the wrong person:
- One named contact for questions, with a backup name and number
- A cutoff time for non-emergency questions on event day
- A clear escalation path for problems that affect the vision
One approach is to designate a "vision keeper", one person who owns the final call on any design change. Vendors route design questions to that person and logistics questions to the event manager. Splitting those two roles prevents both bottlenecks and drift.
Verify, Don't Assume
Confirmation is not the same as verification. After each vendor confirms in writing, verify the details that matter most:
- Reconfirm load-in times 48 hours before the event
- Ask for a photo of any custom or rented item before it ships
- Confirm the backup contact can actually be reached on event day
Watch out: version drift is the most common communication failure. If the floor plan changes, resend it to every vendor with a new version number and a note on what changed, and ask each vendor to reply "received."
Run Event Day: Execution, Contingencies, and Final Checks
Event day runs on a written schedule and a named person in charge of each zone. The vision is already set by this point. Your only job is to protect it.
Build a Run of Show That Maps to the Vision
A run of show is the minute-by-minute schedule for event day, and it should tie every major moment back to the vision statement. For each block, list the time, the owner, the vendor involved, and the vision detail that must be true when that moment happens.
- Load-in window: vendor arrivals, staging areas, and the order of setup
- Design check: the walkthrough where the vision keeper signs off on the room
- Doors open: the moment the guest experience begins
One option is to schedule a 15-minute design check 60 to 90 minutes before doors open, which can give time to catch mismatches.
Final Checks Before Doors Open
Walk the room with the vision statement in hand and check each item against the written standard, not against memory:
- Confirm lighting matches the mood board, including color temperature and dimmer levels
- Check centerpiece height against sightlines from every guest table
- Confirm every vendor has arrived and is set, with a signed scope checklist
Watch out: the most common event-day failure is a vendor arriving without a load-in time. Confirm every arrival window in writing two days before.
Troubleshoot the Three Most Common Failures
Most event-day problems fall into three categories. Have a named response for each before the event starts.
1. A vendor is late or does not show. Call the vendor's backup contact first, then activate the pre-arranged substitute.
2. A design element arrives wrong or damaged. Keep one backup decoration option per zone, sized to the budget and the mood board.
**3.
Protect the Vision Without Blocking the Event
The vision keeper has final call on design changes, but that authority should come with a rule: protect the non-negotiables first, and let the rest flex. If a change would break a non-negotiable, stop it. If it only affects a secondary detail, approve the fix and move on. The goal is a room that feels like the vision statement, not a room that matches every photo.
Debrief and Capture Lessons
Within 48 hours of the event, hold a 30-minute debrief with the core team and write down three things: what matched the vision, what drifted, and what you would change in the brief or checklist. Add those notes to the template for the next event. This is how the execution process gets sharper instead of resetting every time.
Choose a Design Partner Before You Sign a Contract
A design partner is the person or team who owns your vision from first sketch to final teardown. Choosing well matters more than choosing fast.
Consider asking these questions before you sign:
- Can you show me events you have actually produced? Ask for photos of real setups, not stock images.
- How do you handle a vendor who does not show up? A good partner has a named backup plan.
- What exactly falls on me? Get the answer in writing so you know what you still manage.
At Centerpiece Productions, we build custom concepts around each host's specific vision, then manage the details through event day so the look does not get lost. You can review our packages and pricing before you decide, and start a conversation when you are ready.
The gap between a vision and a finished room comes down to written decisions, a dated timeline, and one partner who owns the details. Centerpiece Productions handles custom concepts, vendor coordination, and full event-day support so your vision arrives intact.
Frequently Asked Questions
What does event vision mean?
An event vision is the clear, written picture of what your celebration should look like, feel like, and leave guests talking about. It goes beyond a theme: it names the mood, the color story, the guest experience, and the moments that matter most. Without a written event vision, vendors interpret your ideas differently and the final result drifts. Write it down, share it with every vendor, and use it as the filter for every design and spending decision.
How do you turn an event vision into a plan?
Start by writing a one-page vision statement with three parts: the feeling you want guests to have, the visual palette and style, and the two or three moments that must happen exactly right. Then build an event design planning checklist from that statement, set an event planning timeline working backward from the date, and assign each checklist item to a person or vendor. Review the checklist weekly so the vision stays tied to real decisions instead of staying an idea in your head.
How far in advance should you plan event design?
For a full-scale wedding or milestone celebration, lock the design direction 8 to 12 months before the date. Venue and major vendor availability drives this: popular venues and florists book early, and changing the design after contracts are signed usually costs more. Smaller gatherings can move faster, but even then, finalize the event vision and mood board at least 4 to 6 months out so rentals, custom decor, and printing have time to arrive.
How do you communicate an event vision to vendors?
Give every vendor the same written vision statement plus a mood board with photos, color swatches, and material samples. Add a one-page brief for each vendor that names their specific deliverables, setup times, and the moments they must support. Schedule a walkthrough at the venue so everyone sees the space together. Confirming details in writing after each call prevents the small misunderstandings that quietly pull a design off course.